Okta configuration guide for Papyrs
Integrating Papyrs with Okta (https://www.okta.com/) takes a couple of steps. Below is an illustrated guide.
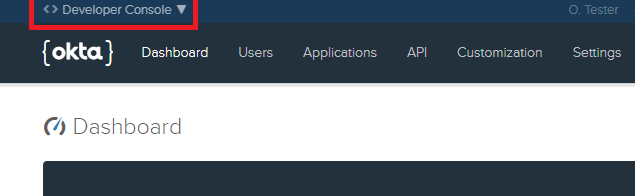
Step 1: Switch to the Okta Classic UI. You can skip this step if you're using the Classic UI already. You can switch back to the developer console after setting up the Papyrs Okta integration.
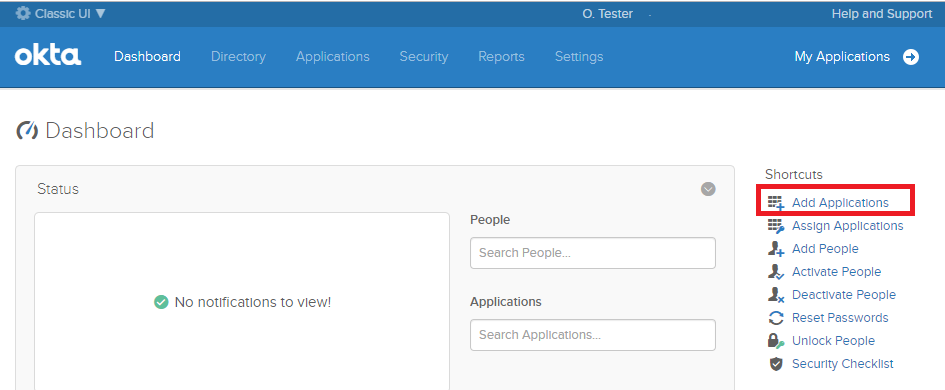
Step 2: If you don't see the "Add Applications" shortcut, you can also navigate to "Applications" in the menu bar.
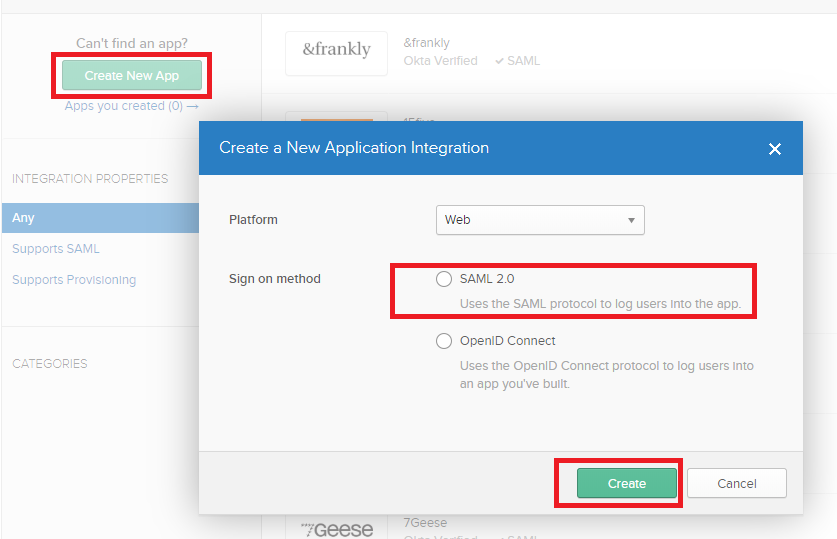
Step 3: Select "Create a new App" then "Platform: Web" and "SAML 2.0" for sign on method. Click Create.
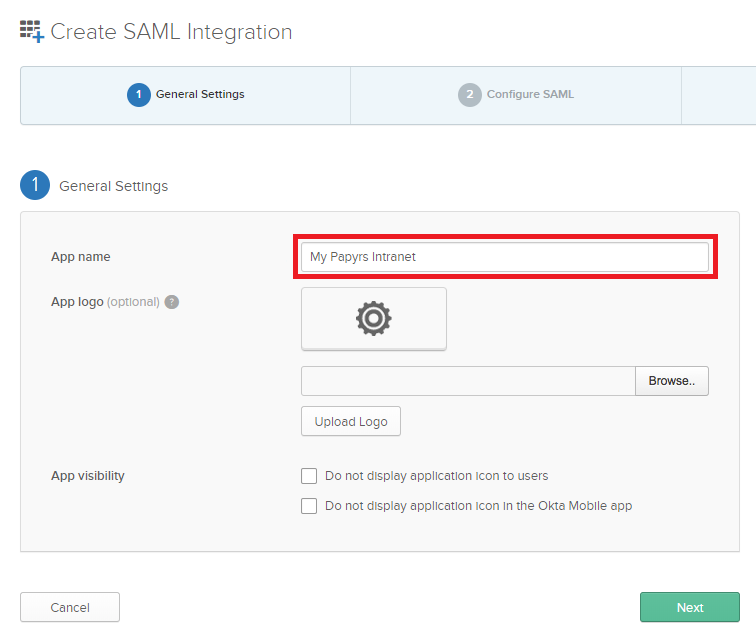
Step 4: Pick a name (and perhaps a logo) for your integration and click "Next".
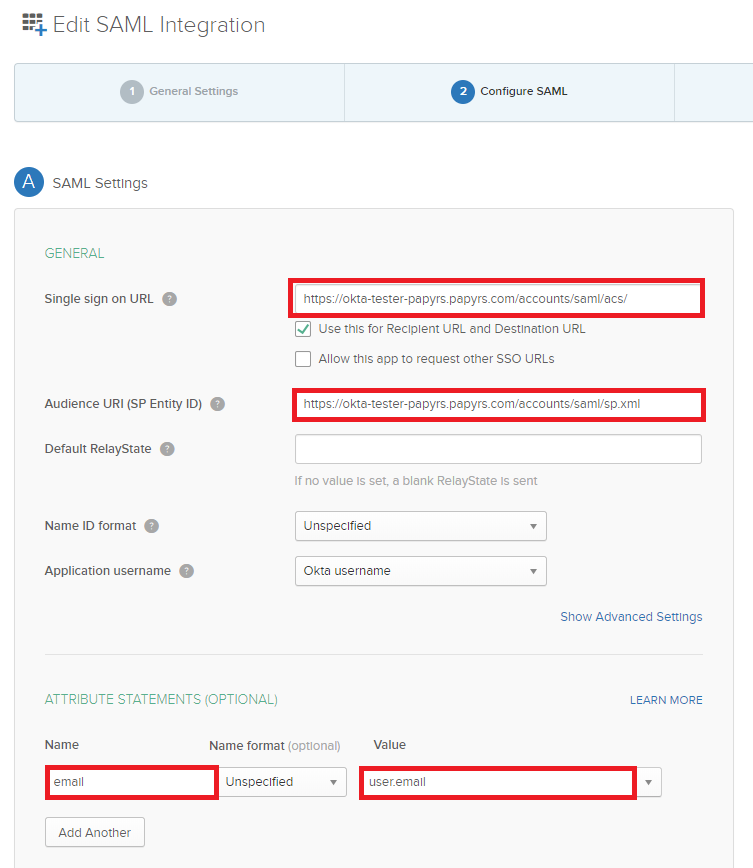
Step 5: Fill out the following fields for the SAML connection:
- Single sign-on URL: https://yoursite.papyrs.com/accounts/saml/acs/
- Audience URI (SP Entity ID): https://yoursite.papyrs.com/accounts/saml/sp.xml
- Add attribute:
- name: email
- value: user.email
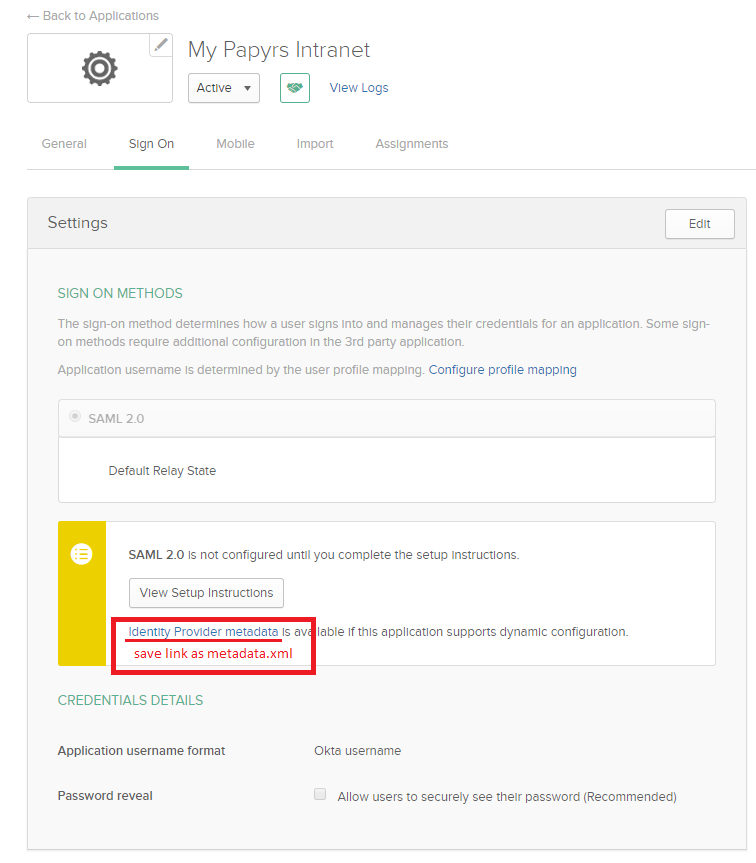
Step 6: Now that the Okta application has been configured the connection information has to be shared with Papyrs. Save the Identity Provider metadata xml, we'll need it later.
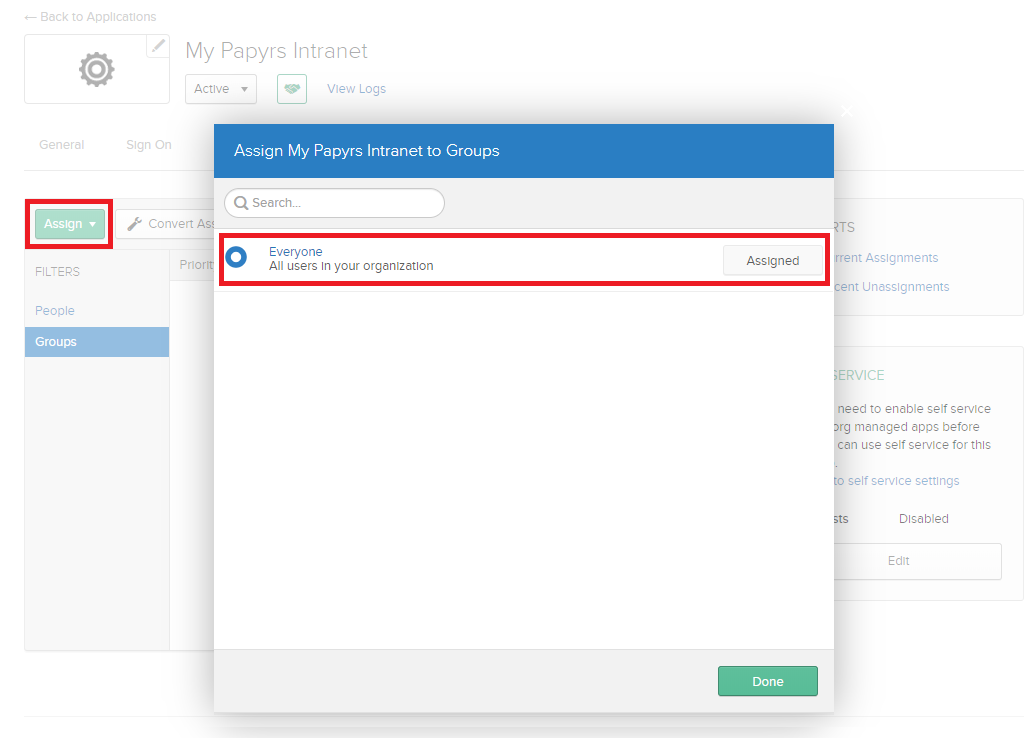
Step 7: Almost done. Now you just have to assign which Okta users are allowed to log in to Papyrs. You can assign individual users or entire groups to the Papyrs Okta application. For initial testing we recommend enabling the app for just a handful of users.
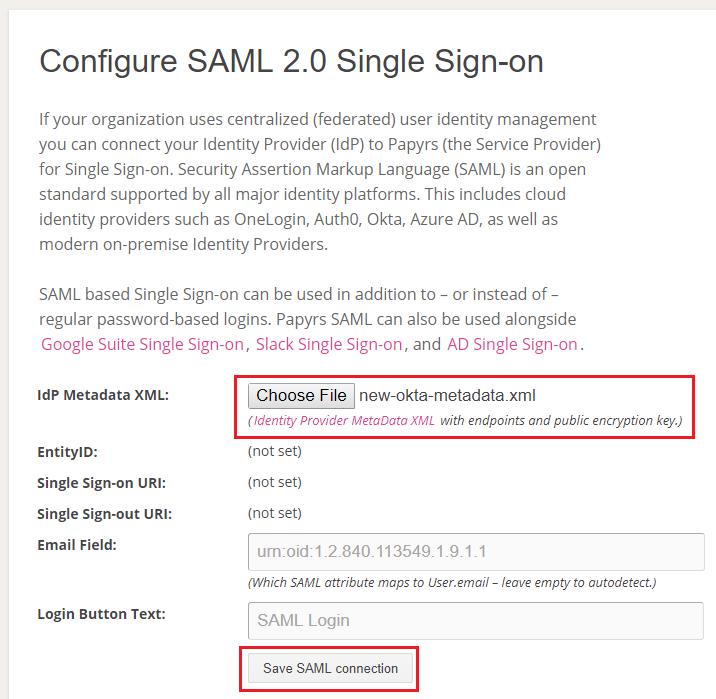
Step 8: Upload the metadata.xml you saved earlier to the Papyrs form at https://yoursite.papyrs.com/settings/saml/. You can leave all the other fields on the form empty. When you submit the form you're done! A SAML authentication button should show up on the login page of your site.