With fine-grained page permissions in Papyrs you can set exactly who in your organization can access which pages and who can edit them. Additionally, roles can be used to turn off certain functionality for certain types of users. Finally, some widgets on a page have additional widget settings, for example to restrict who can edit form records on that page.
Here you can read how the different permissions work, and how to change them:
Page Permissions
A user can have one of the following access levels to a page:
- No access
The user cannot access the page, and this page won't show up in any navigation for the user (like the menu bar, navigation widget, or pages overview).
- View
User can view the page, but not edit it. The page history can be viewed unless disabled in the user's role settings.
- Edit
User can view and edit the page, and its settings (guest users can never change page settings).
You can set permissions of a page when creating a new page, or change permissions of an
existing page by clicking the  button, and then Permissions & Subscribers.
Giving people access to pages is easy: just click on their name, or on a group to give everyone in the group access.
More fine-grained options are also available, in case you want to decide on edit rights of individual users, for example. We explain all the available options below:
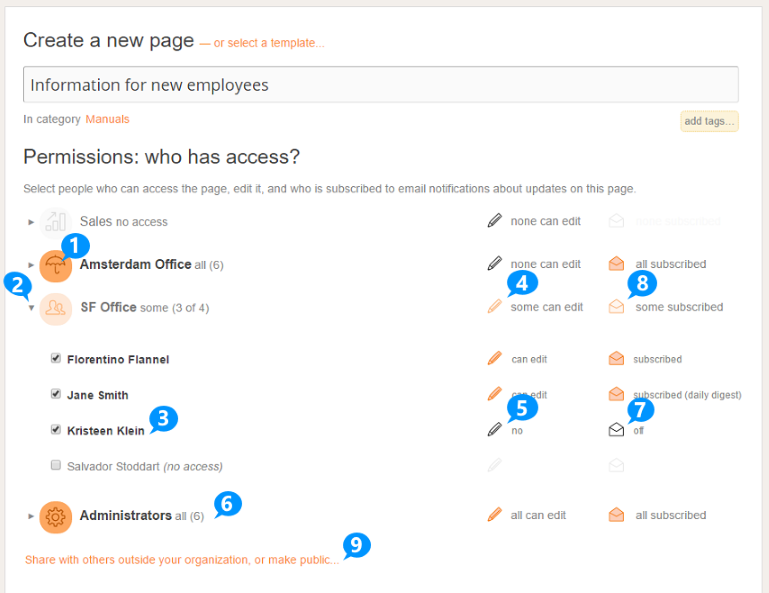
- Click on a group (1) to toggle access for everyone in that group.
When no-one in the group has access, the icon will be gray and no access
is displayed next to the group name.
- If you want to change settings for individual users, click on an arrow (2) to show everyone in a group. (Un)select an inidividual user (3) to grant or revoke access from that user.
- Click on the pen icon for a group to toggle edit rights to the page for everyone currently in that group (4), or use the pen icon for an individual user to toggle their edit rights (5). Users with Administrator roles are shown separately (they always have edit rights for
all pages. (6)
- Click on the envelope icon (7) to subscribe someone to a page. This means that person
will receive email notifications about updates to the page. Similarly, click on the envelope icon for a group to (un)subscribe everyone in that group (8).
- To share a page with others outside your organization, click Share with others outside your organization, or make public... (9).
Changing permissions in bulk (multiple users or pages)
As the number of pages and people in your account grow, it's often useful to change permissions for a large number of pages, users or a group of users at the same time. This is where bulk permission assignment comes into play, which allows you to do just that in a few clicks. Afterwards you can use user impersonation to verify that the permissions are set up correctly.
You can find the Bulk Permission assignment page by navigating to People » Edit Permission :
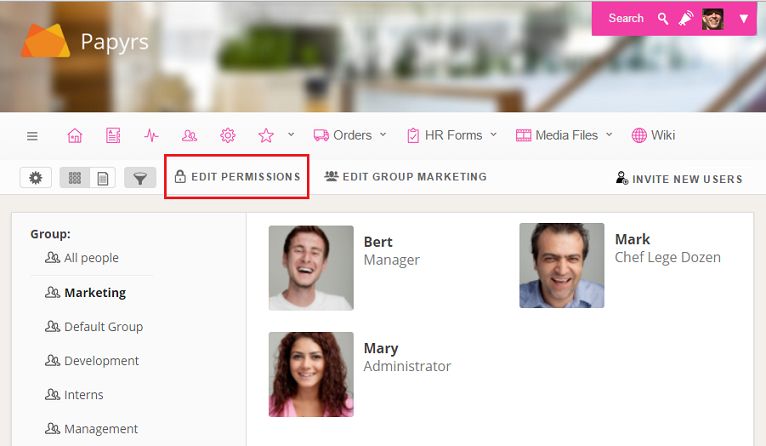
When you click on "Edit Permissions" you'll see a page that looks like this. Here you can set permissions for multiple pages and for multiple users at once.
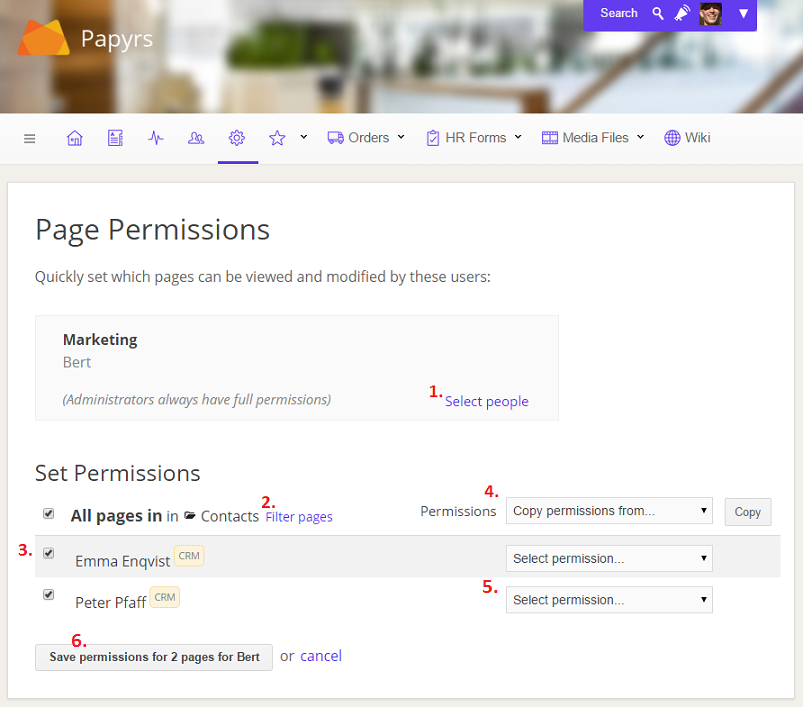
- First you select which people you want to set permissions for. If you click on "Select people" you'll get a window where you can select individual people or groups to set permissions for.
- (optional) You can use the Filter option to choose which page permisisons you want to update. For instance only pages in a specific folder or only pages with a given tag.
- (optional) You can use the checkboxes to the left to exclude individual pages. Uncheck the boxes and the permissions for those pages will remain unchanged.
- (optional) You can use the dropdown box to copy permissions from an existing user or to set a specific permission level. Click on Copy to copy the permissions.
- Now you can change the permissions for individual pages. Select the appropriate permissions for every page from the list if you want to change them.
- Does everything look right? If so, time to save. Click "Save Permissions" and the new permisions will be saved.
Roles
Next to the page permissions, each user has a role, which determines their access to global features in Papyrs. To view and change these roles, go to Settings > People, select a user and click Change Role, see the following screenshot: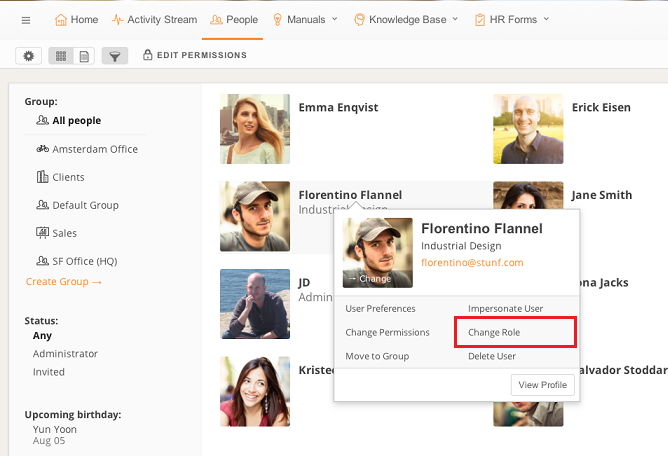
After clicking on Change Role, the following dialog will appear:
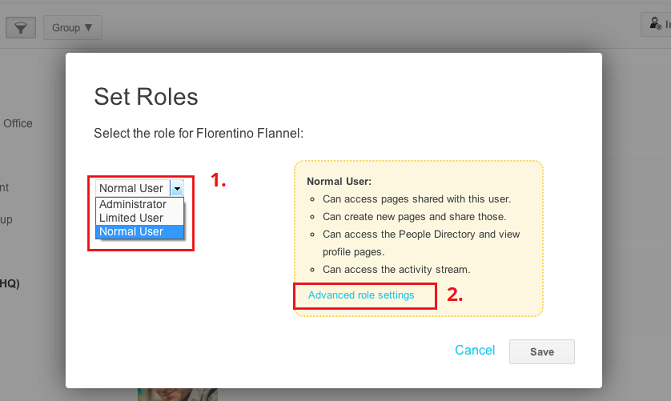
Use the dropdown (1) to change their role. By default, the three role levels are:
- Administrator
Next to having Edit rights to all pages and screens in the account, an administrator can invite and remove team members, and change account settings. - Normal user
Can access pages other team members share with this user. Can create new pages and share those with the team. Can access the Activity Stream and the People Directory. - Limited user
Limited users can access pages shared with them, but cannot create new pages, cannot visit the Activity Stream and cannot access the People Directory or any Profile pages. Can only access older versions of pages they have Edit rights to.
Tip: to change the roles of multiple people in bulk, view the People Directory as a table, select multiple users, and click Selection Actions > Edit Role.
Form Permissions (Widget Setting)
When a page contains a form, users who can access the page can submit new records. By default, the access to form records is set like this:
| Page permission level | Access to records of the page's form |
|---|---|
| View | Viewers can only see & edit records they submitted. Other records are not visible.
|
| Edit | View and edit all records of the page's form. |
For example, if you have an HR form to process requests, you can give managers Edit permissions to the page so they can view and change (e.g. approve or deny) all records, while others can only submit records and view their own records.
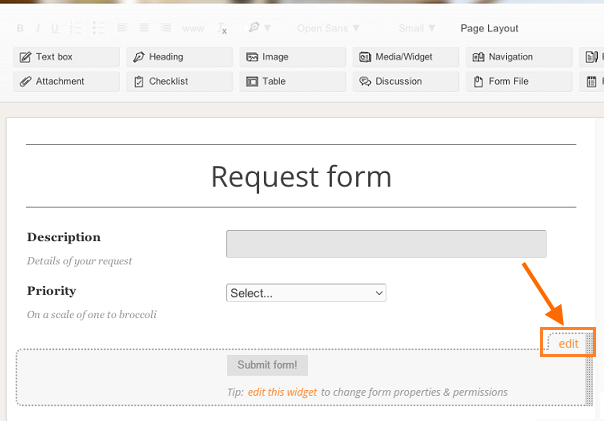
It's also possible (for page editors) to change which records View users can see. In some cases it's useful everyone is able to see all records, for example, like in the case of bookings or an event calendar. To change this, open the form properties dialog by clicking edit on the form's submit button:
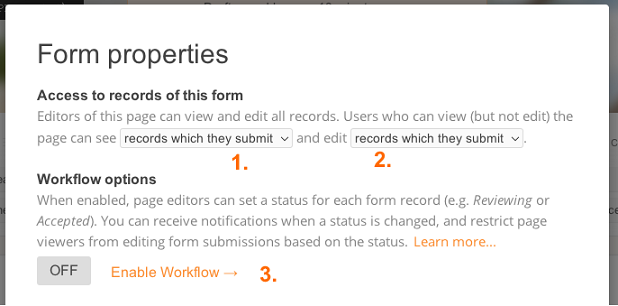
In the following dialog, you can select which records viewers of the page should be able to see (1), and which they can edit (2).
Workflows
Using the Workflow options (3), a status field is added to each record, and editing of a record by a View user can be restricted depending on the status of a record (for example, users can only edit form records when the status is still set to Pending approval).
Advanced: App Permissions
When App mode is enabled for a form, whenever someone submits the form, a new page is created for that new record, using the form page as a template. Just like any other page, page permissions can be changed for these record pages individually.
The default permissions for new record pages (created when someone submits a form in the App), work just like access to records in a normal form. Like normal forms, Editors of the App will get Edit access to all new record pages, and the default setting for Viewers is they only get Edit rights to the record pages they submitted themselves (No access, otherwise). Similarly, the default permissions for new record pages can be changed by editing the properties of the App-mode enabled form:
Tip: to quickly change all permissions for existing record pages of an App, use the bulk permission tool.
Posting comments (Widget Setting)
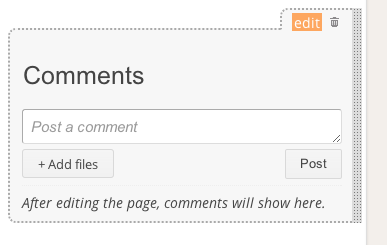
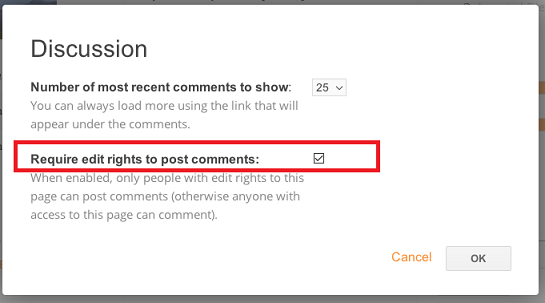
When a Discussion widget is present on a page, every user who can access that page can post comments. If required, this can be changed so that only people with Edit permission levels to the page can post comments (i.e. those with View permission levels cannot leave a comment on the page). This can be enabled by editing the Discussion widget on the page:
And then selecting the Require edit rights to post comments option.
Verifying permissions & Impersonation
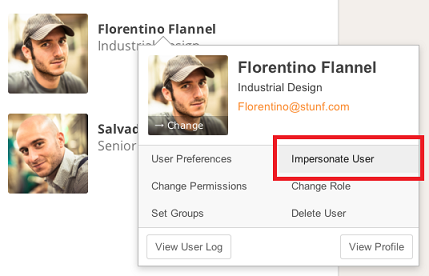
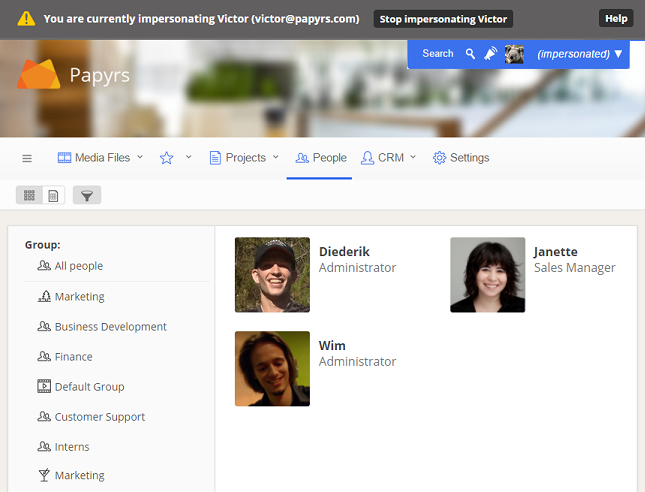
To verify that the permissions are set correctly, you can impersonate a user. This feature is only available to users with the Administrator role. To impersonate a user go to the People Directory, select a user and click Impersonate User, see the following screenshot:
You will now see your Papyrs site exactly as it appears for the user you're impersonating. So you'll only see the pages the user has access to, you can only edit those pages the user can edit, and so on.
You'll also notice that Papyrs automatically hides pages a user doesn't have access to from the menu bar and navigation widgets.
When you're done impersonating the user you can click on the "Stop impersonating user" button at the top of the page.
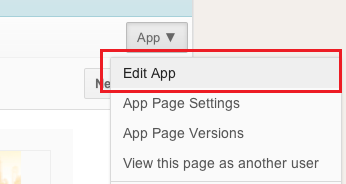
Tip: You can also impersonate a user from the Page menu (Page > View this page as another user).