Widgets
On Pages we show how to create a page, and add widgets to your page. This document will explain the different widgets you can add to your page. Widgets can also be used to add your own custom online forms to pages; you can read about these widgets on Online Form Widgets.Text box
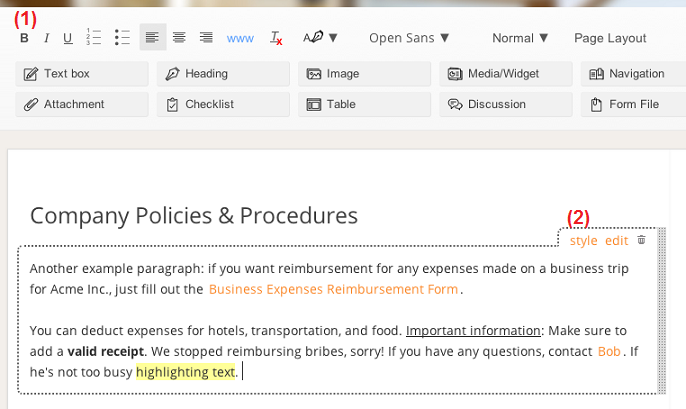
With the text box you can add rich text to your page, to write a quick note or an important document for example. Adding text works much like you're used to from a normal word processor.
You can add formatting, insert links to other websites or Papyrs pages, and highlight text. To read more about all the available formatting options and inserting hyperlinks to other pages, see Pages > How do I edit a page?
Next to the formatting options in the editor toolbar (1), the text box also comes with a number of styling options. Click the style link (2) to show the available styles (see the picture below).
Heading
Add headings to your page to divide your page document in different sections. You can choose the style
of the heading from the dropdown menu in the toolbar, see the screenshot below:
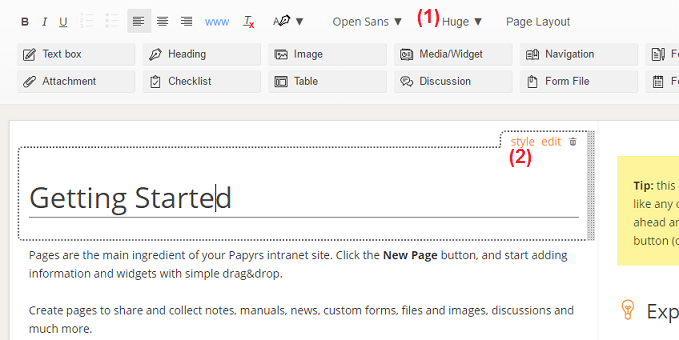
Using the size dropdown menu (1), you can choose between Huge, Large, Medium and Small headings. The size of a Heading also determines its hierarchy in a table of contents. To add a table of contents, see the Navigation widget.
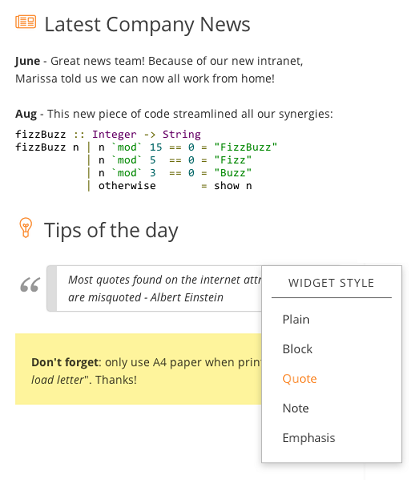
You can add additional styling to the Heading using the style menu (2):
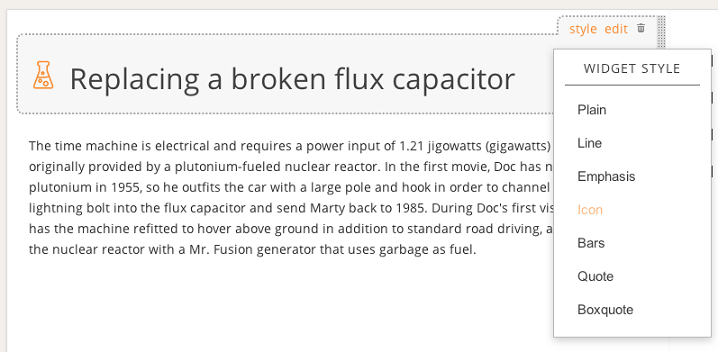
Styles can be used to add an icon next to your heading (click on the icon to change it), add lines, display the text as a quote, and so on.
Attachment
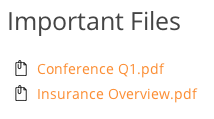
With the attachment widget you can add all kind of files to your pages, and easily share the files with your team.
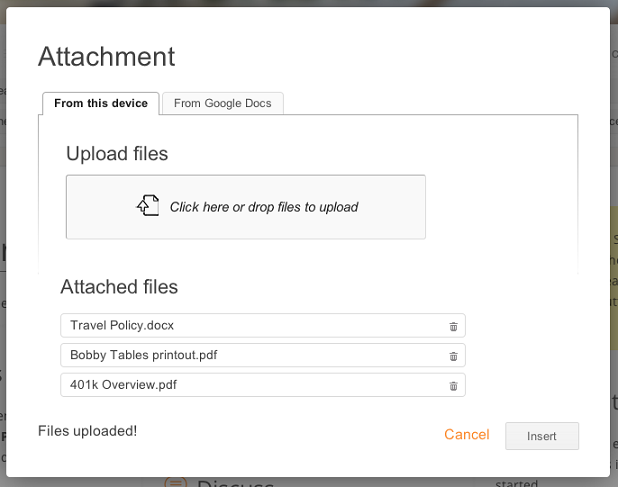
Adding attachments is very easy. Drag an Attachment widget to your page, and the Attachment dialog will pop up (see below). Simply choose the files you wish to upload, or directly drag files from your computer (e.g. Explorer in Windows or Finder on the Mac) to the "Drop files here to upload" area. You can upload multiple files at the same time.
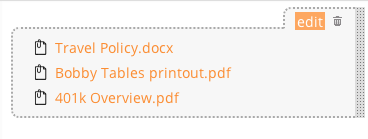
After you added attachments to your page, when you edit the page you can modify (add and remove files) the attachment widget by clicking Edit as shown in the following screenshot:
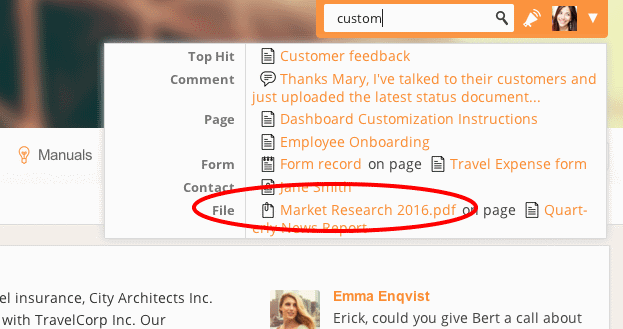
Papyrs makes it easy to find your pages, files and other content back. The built-in search will even search through text in PDFs, Office and other text files.
If your Papyrs is linked to G Suite (Google Apps), you can add attachments directly from Google Drive (select the From G Suite tab in the Attachment dialog).
Checklist
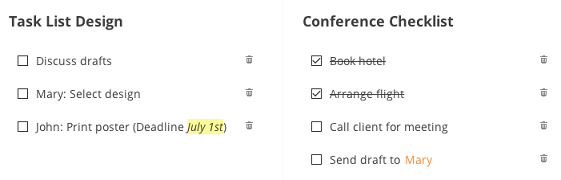
Checklists are an easy way to create a list of items you and your team members can check off or complete. Think about tasklists (like a list of to-do's for a project), people attending a meeting, or steps you need to complete before takeoff.
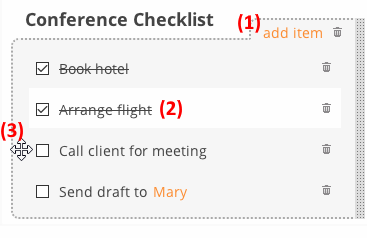
When editing a checklist, you can use all the usual formatting options, like changing the font or including links. Add items using the link shown under (1), click on an existing item to edit it (2) (when editing the page), and click anywhere on the sides of an item to drag it around (3).
Image(s)
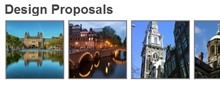
With the Image(s) widget you can add an image, photo gallery with thumbnails or slider/carousel to your intranet pages. Get started by opening the page editor, and dragging an Image(s) widget to your page.
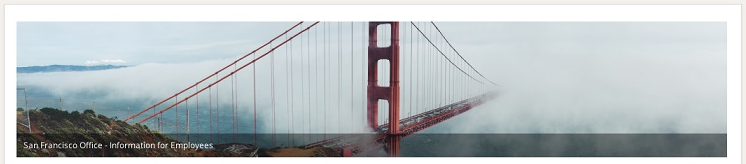 Example of slider with a link to another page
Adding pictures
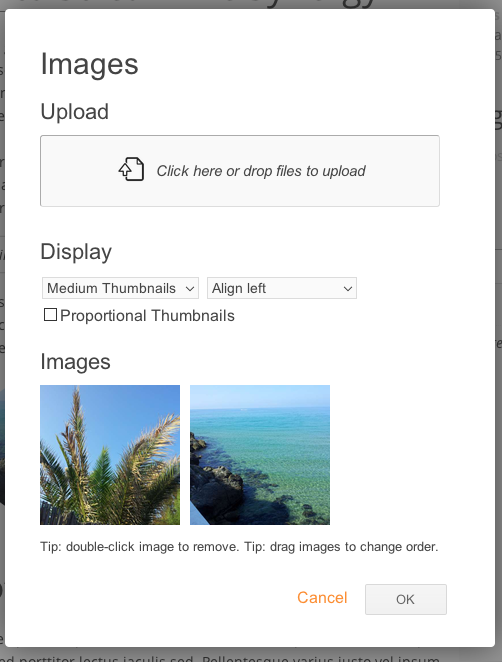
Creating a new image gallery is very easy. In the Image Gallery dialog (see screenshot below), you can upload a single image file, or multiple image files you want to add to your image gallery. Uploading works similarly to uploading attachment files (see Attachment), so you can drag & drop multiple image files at the same time. Editing thumbnails, re-ordering and removing
Papyrs automatically creates thumbnails of your pictures (and tries to automatically detect the orientation of photos), and you can select the size of thumbnails you wish to display on your page. You can also set the alignment (left, right, or center), and change the order of the images by dragging them around. To remove an image from the gallery, in the edit dialog, double click on the image.
After you have added the image gallery, you can edit (add, remove and re-arrange images) the image widget by clicking edit at the top-right corner of the widget (see the picture below).
Gallery styles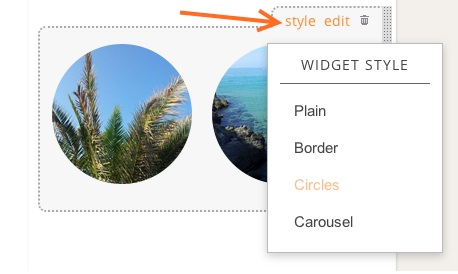
The image gallery supports several styles, which you can select from the style link on the top-right corner of the widget. Images can be given a border frame with the Border style, shown as circular images with the Circles style, and as an interactive image slider with Carousel.
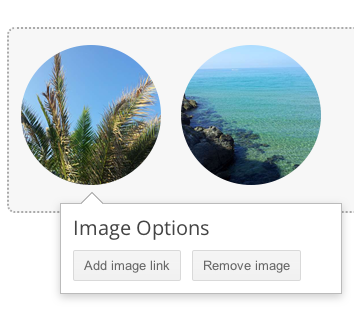
Image linksAdding links to the images is possible, too. This way you can add navigation to other pages using images, great for dashboard pages, for example. When editing a page, click on the picture you want to add a link to, and a popup will appear. Click Add image link in the popup and a dialog with options is shown, for both linking to other pages or to external links. When the image gallery has the Carousel style, the label is shown as a transparent text label on top of the picture.
Table
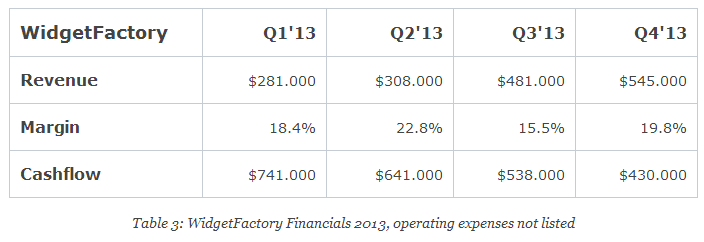
A table widget can be used to create lists, simple spreadsheets, etc: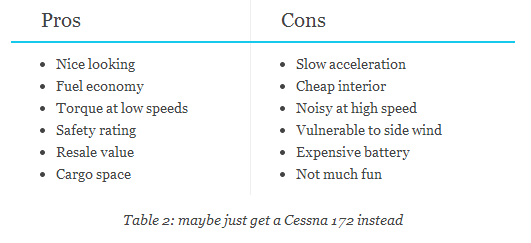
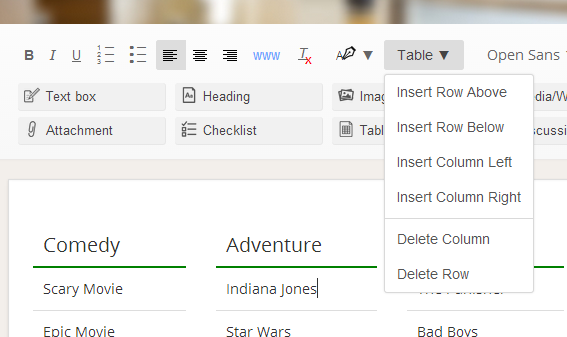
After dragging a table widget onto the page you'll see a menu (pictured above) with the following options:
- Insert a row above the table cell with focus,
- Insert a row below the table cell with focus (ctrl+enter),
- Insert a column to the left of the table cell with focus,
- Insert a column to the right of table cell with focus (ctrl+shift+enter),
- Delete the current column,
- Delete the current row (alternatively: by selecting the row(s) and pressing delete)
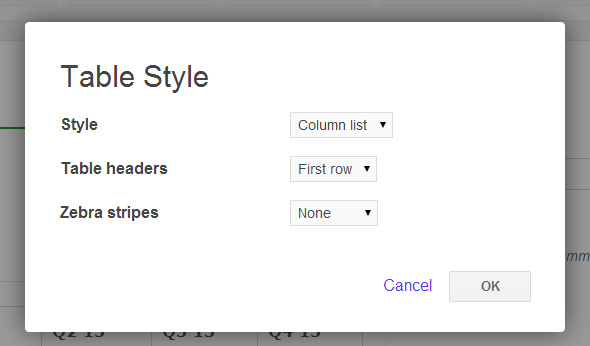
If you click on the style link in the upper right corner of the table you can choose between a number of style options: Simple Grid, Column List, Elegant, Bold. You can also enable zebra stripes (every other row or column gets will get subtly highlighted).
Discussion
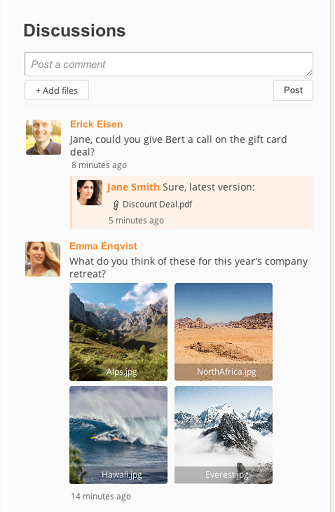
Add the Discussion widget anywhere on your page to add a comment area and allow discussions about the page.
People with access to the page can post comments, add photos and attach files. Click on a picture and a slideshow will be shown. As always, you can use the search to find back any comments or related attachments.
The discussion widget in Papyrs is live, meaning you will be shown when new posts arrive. This way you can use the Discussion widgets for a simple comments area, as well as for Q&A sessions, for example.
Like other widgets, the discussion area will automatically fill the available space of the page section you add the widget to. For example, if you want to use the page as a forum topic, just drag the widget to the large area of the page to make the discussion the central element.
Using the reply link it's also possible to reply to a parent comment and create a separate thread.
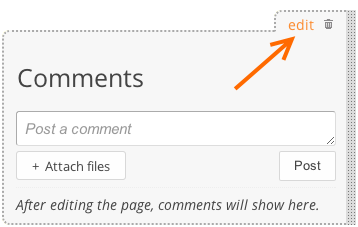
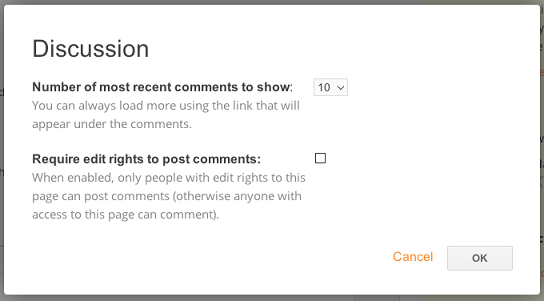
The discussion widget can be further customized by editing the page, and clicking the edit link on the widget. In the following Discussion properties dialog you can set who is allowed to post comments, and how many comments should be displayed. For example, if only the ten most recent comments are shown, older comments will only be visible when clicking a Load more comments.. link.
Media Widget
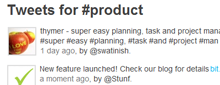
Under the Media/Widget you can find all kinds of other handy widgets and other (social) media integration which you can add to your page. For example, you could show the latest mentions and buzz about your company on Twitter directly on a page.
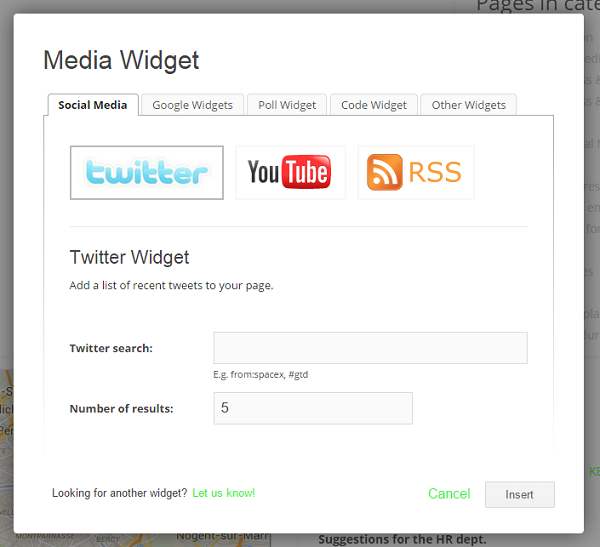
After adding a Media/Widget, in the dialog (see screenshot below), select the type of media you want to add to your page. You can add Tweets, YouTube videos, RSS news, Code Snippets (with syntax highlighting), embed documents from Google Docs (Drive), Google Maps, a Google Calendar and much more to your pages. If you need some other or custom widget, click the "Other widgets" tab and copy-paste the HTML embed code for this widget there.
You can find some more information about specific social media widgets here:
- Facebook on your intranet
- Embed Google Docs and Calendars on your intranet
- Twitter on your intranet
- LinkedIn on your intranet
- Instagram on your intranet
- Mixed Content
- Add a poll to your intranet
- Code Snippets on your intranet
- Add custom calendars to your intranet
Navigation
Using the Menu Bar editor, Administrators can add and edit the global navigation menu bar in Papyrs. Of course there are also plenty of options to add navigation elements directly onto your pages using the Navigation widget.
The widget supports adding navigation to sections within the page (Table of Contents), showing links to other pages related to activity (e.g. Most recent updates), links to other users (birthdays, page authors), folder tree navigation controls, and so on.
Simply place this widget anywhere on your page (edit the page, and drag&drop the Navigation widget), for example in the sidebar. Or you could add different types of navigation widgets, to create a dashboard page about recently commented and changed pages, for example.
Note: if you're looking for adding links to other pages in a Text box, see Pages > How do I edit a page?
In the Page navigation widget dialog (see screenshot below), you can choose the type of navigation you wish to add. Note: in all cases, only pages which a user can access will be shown. You can choose between:
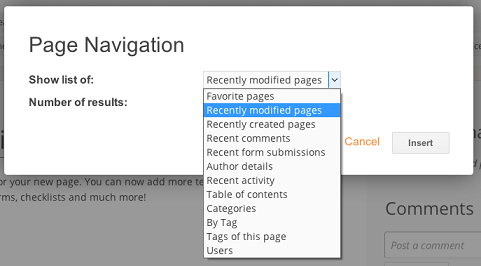
Recently modified pages
Show a list of pages which were recently changed.Recently created pages
Show a list of pages which were recently created. These pages can also be filtered by folder, see the Folders option below.Recent comments
A list of pages to which new comments were recently postedRecent form submissions
A list of pages with a form that was recently submittedAuthor details
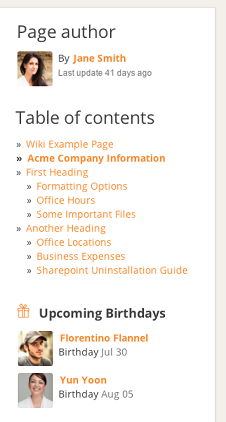
Show who created or last updated this page, and at what time, with a link to the user's profile.Table of contents
Generate a table of contents, based on the Headings on this page. The size of a Heading determines its hierarchy in a table of contents (see Heading widget). If you add or remove a Heading, the Table of Contents is updated automatically.Folders
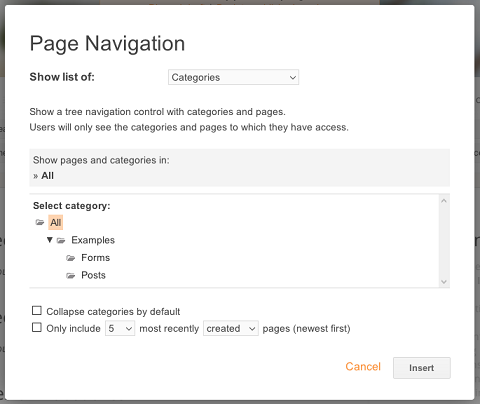
Show a tree with (sub)folders and pages.
This option can also be used to show only the most recently created/updated pages within a certain folder (and/or subfolders). For example, say you would like to show the ten most recently created pages in a folder called Blog Posts. Select Folders, select the Blog Posts folder, and check the Only include 10 most recently created pages option.
By Tag
Show a list of pages with a certain tag.Tags of this page
Show all tags of this page, with each tag linking to all pages with that same tag.Users
Show a list of individual users, or all users in a Group. Clicking on a user will take you directly to their profile page. You can also list users by upcoming birthdays.
Note: users only see pages they have access to in the navigation widget.